Disclaimer: This post contains affiliate links. If you choose to make a purchase through them, Libby and Labels may receive a small commission.
Let’s face it - kids come with a lot of paper. Whether it’s daycare, school, church, doctor’s appointments or artwork created at home, there’s a constant inflow of paper. It’s often hard in the moment to know what’s worth saving.
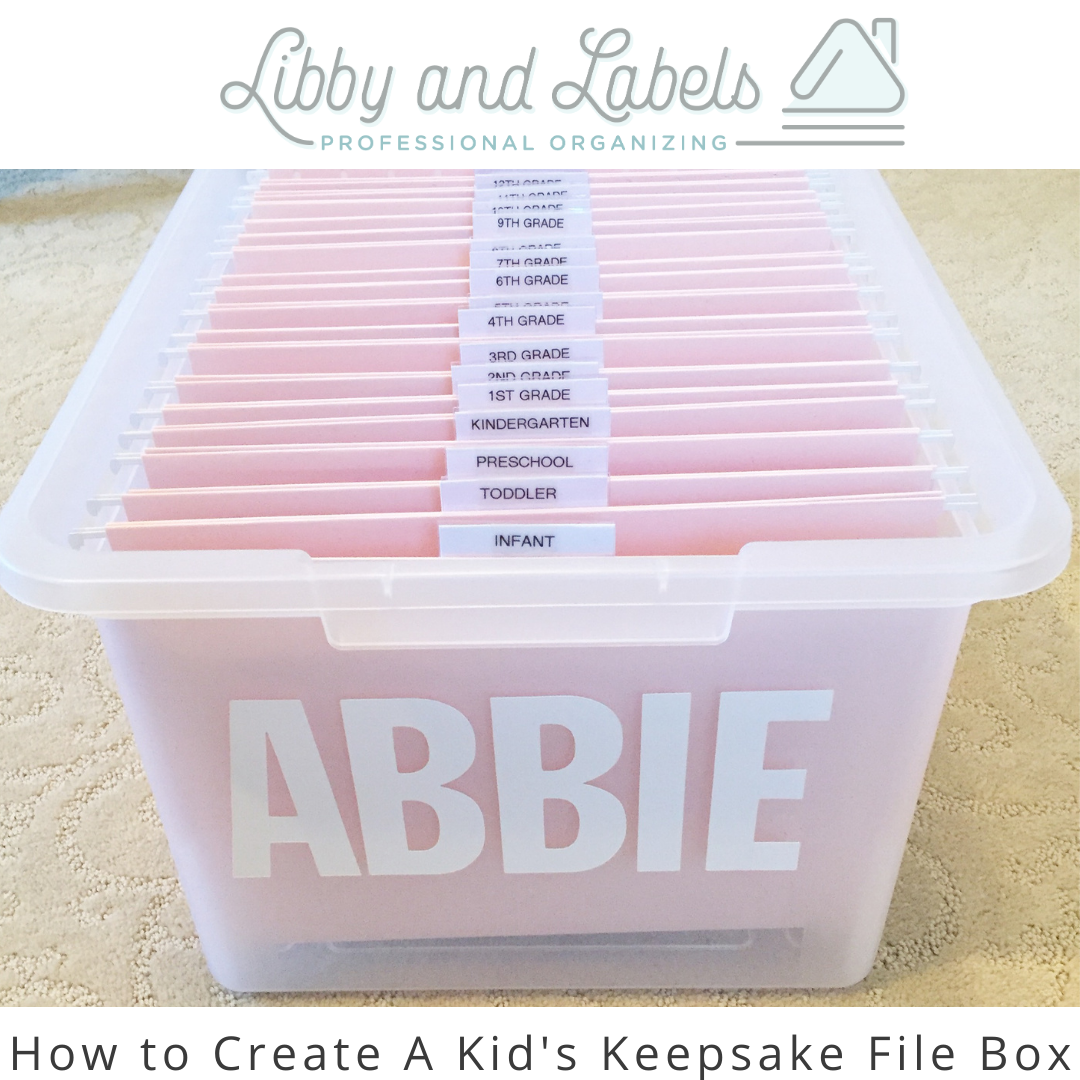
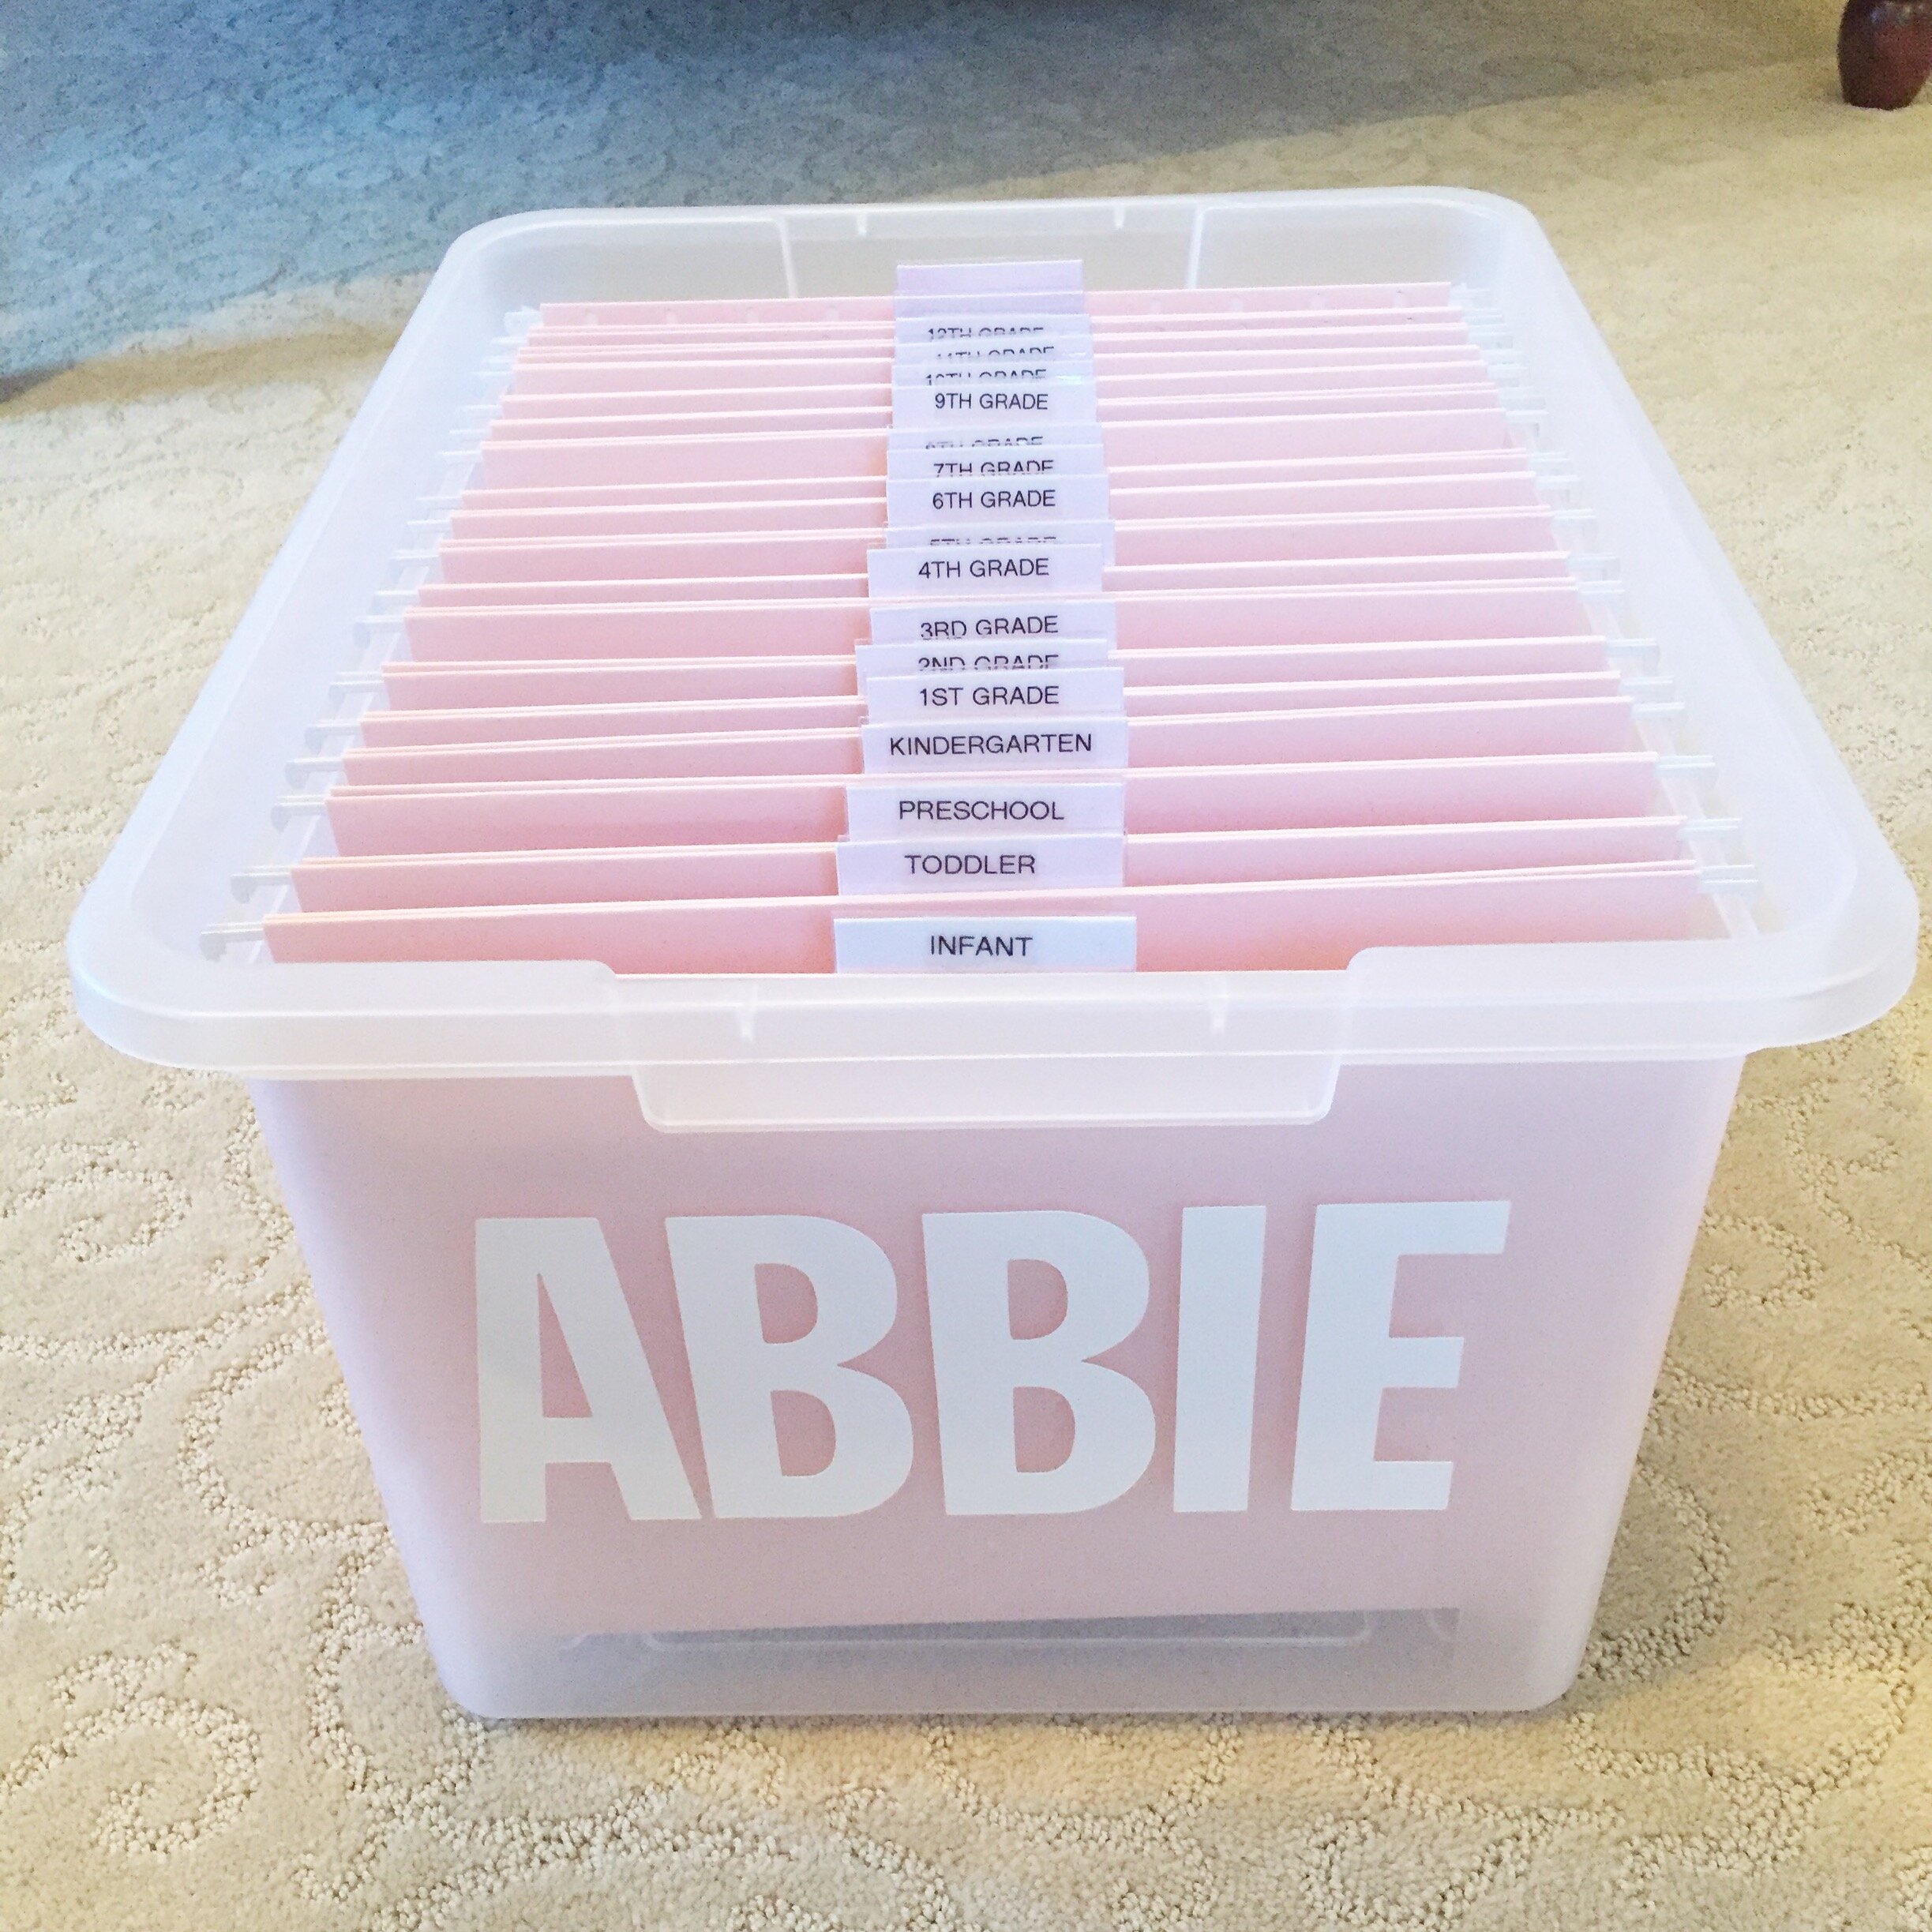
That’s why we recommend creating a keepsake file box for each child.
All you have to do is set it up once, and it should last throughout the child’s school years.
Here’s what you’ll need:
1) A letter legal file box with a lid
2) Hanging file folders (at least 16-20)
3) Labels for each tab - I use this Brother P-touch label maker with clear tape.
4) A name label for the front - You can go fancy with a custom vinyl monogram or label designed with a Cricut machine, or you can keep it simple with poster letter stickers. If you want to keep it as inexpensive as possible, grab some poster letter stickers from your local Dollar Tree. The options are endless.
Now whenever that birthday card, spelling test grade, or impressive doodle comes home with your child and you don’t know what to do with it, just drop it in the appropriate file. If you’re a big saver and the files fill up quickly, then just pull out the box periodically (every six months or year) and edit out what is no longer worthy of keeping.
If you’re anti-paper, then these boxes are great for storing necessary papers in the short term and other keepsake objects in the long run. For example, the kid goes off to college and those spelling tests are no longer important to either of you so you trash them, but then you need somewhere to store your child’s trinkets when you clean out their room. Transform it into a memorabilia box that can easily be passed off to them one day.
Pro-tip: These also serve as great gifts for new moms. :)


